Home Page › Forums › Art Showcase › My renders
- This topic has 1 reply, 2 voices, and was last updated 6 years, 4 months ago by
 Mark Sinister.
-
AuthorPosts
-
June 6, 2020 at 11:50 PM #1606781
GALAX GeForce RTX 2060 SUPER
AMD Ryzen 7 2700X
MSI B450 TOMAHAWK
RAM Kingston HyperX 16Gb
Power CORSAIR RM 850xJune 7, 2020 at 10:07 AM #1606827I have some advice on your images.
1 - Use Camera View on all your images not Perspective View. This way you can use camera effects like "Blur" and Dutch (JJ Abrams) Angles. It's amazing what blur can do to a simple image when you blow out that background.
2 - Make an emission primitive like a Sphere or my fav a Plane. You can do this by using this product:
Simple Emissive Light Shaders for Iray
this makes really nice softer lights to help with the environment lights you use in the background. Spot lights also help but I would use the emissive lights.
You know how movie studios or photo shoots have those huge silver umbrellas use them like that so you can bring out the character from the background light (Softly).
Now for each image:
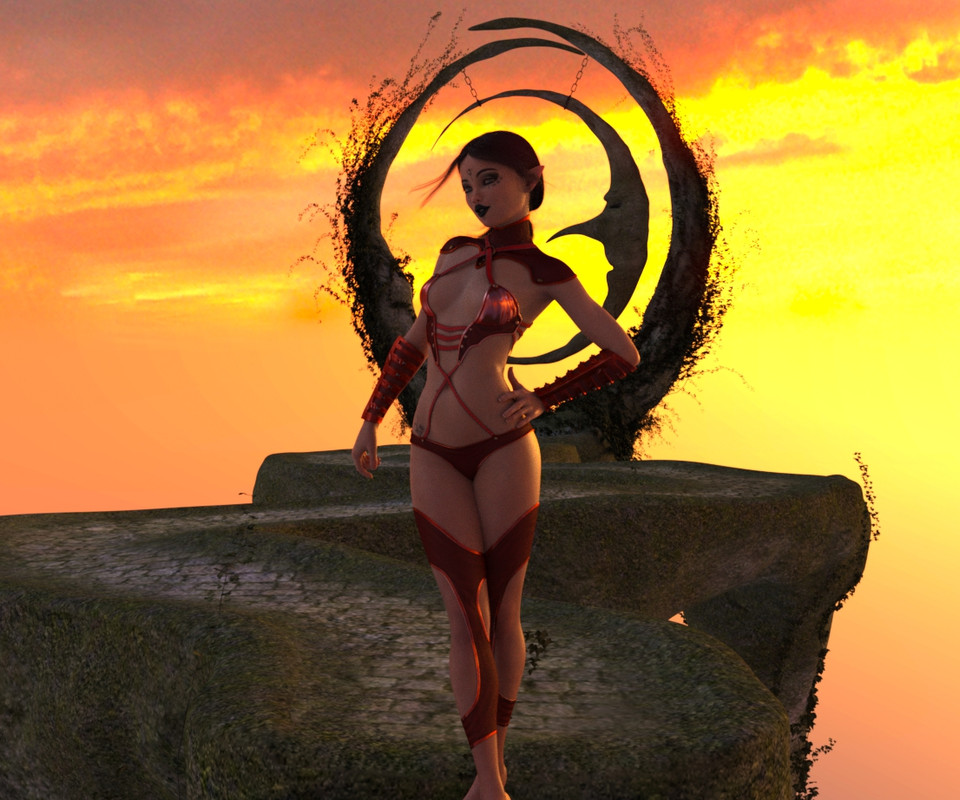
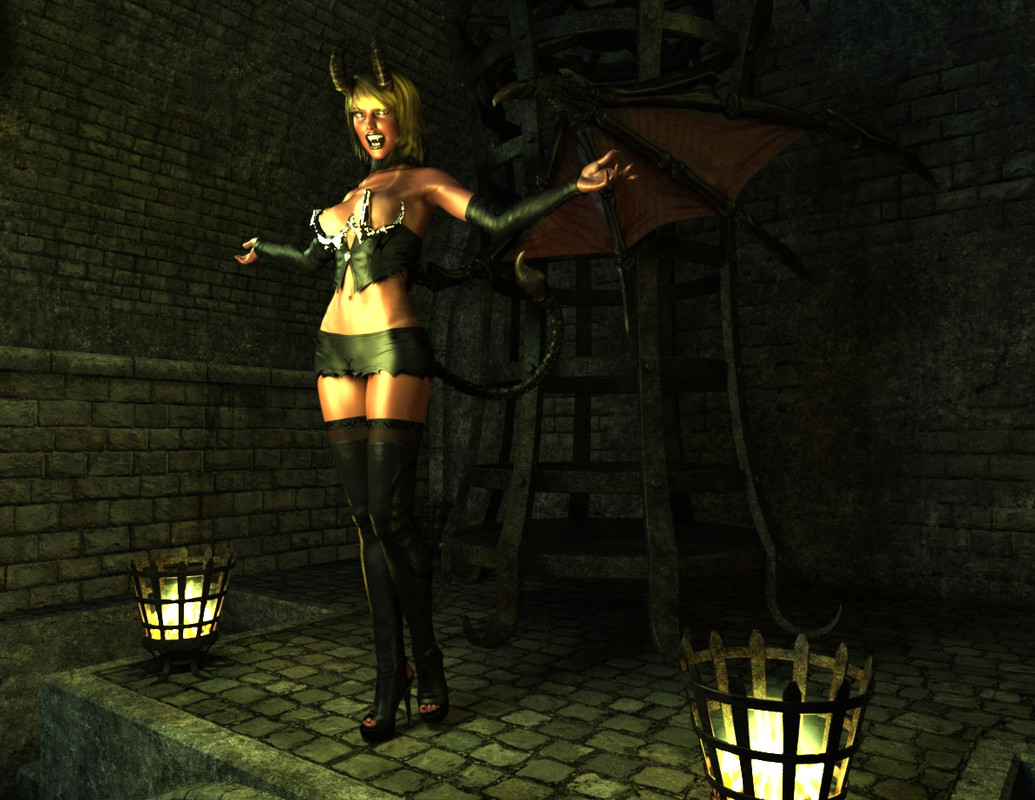
Image 1 - needs Emissive primitive to light up the front of her more, something like a soft white or maybe even orange play with it. But she need light in the front of her. Also blur that background make her the focus.
Example image that use Blur setting:
Barry HaugeI use a lot of Photoshop after effects so ignore that. But the Blur and lighting was done in Daz Studio.
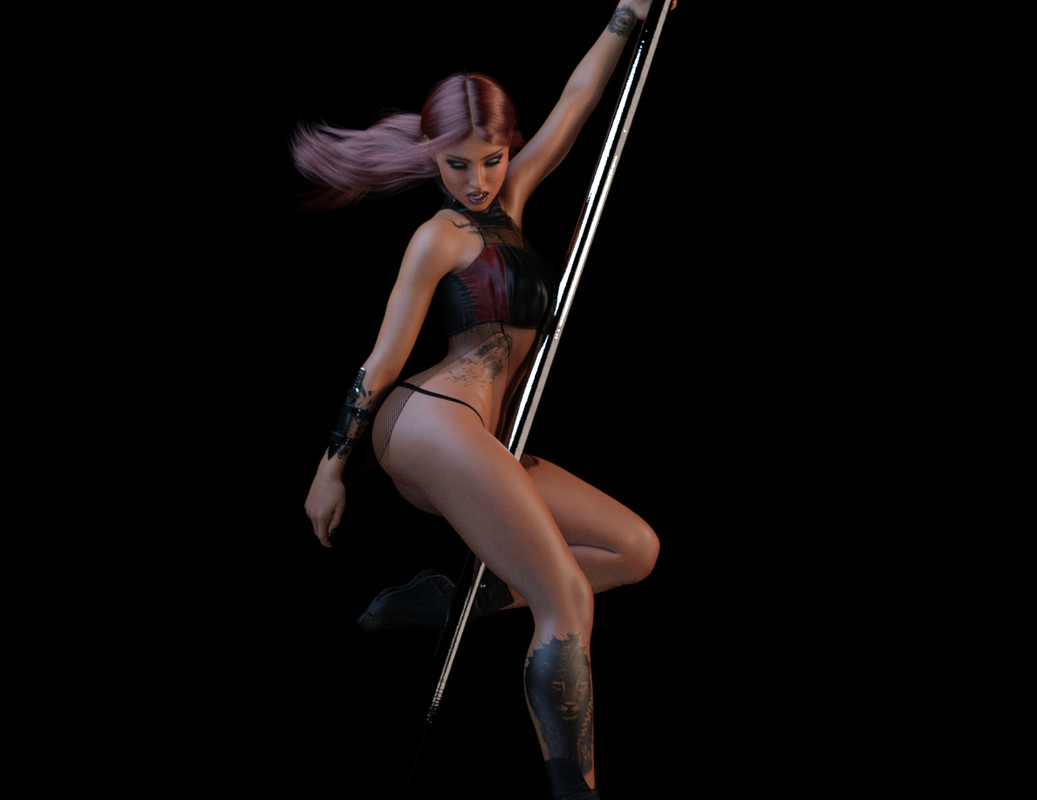
Image 2 - Use this next time:
https://www.daz3d.com/iradiance--light-probe-hdr-lighting-for-iray--expansion-6
https://www.daz3d.com/iradiance--light-probe-hdr-lighting-for-iray--expansion-5
https://www.daz3d.com/iradiance--light-probe-hdr-lighting-for-iray--expansion-4
https://www.daz3d.com/fast-production-lights-for-irayThere's tons of products like these (I collect them like trading cards). The key is if you're just going to render a plain background use that instead it makes for better render preview or just better simple renders.
The key is to use it with Draw Dome on in Render Settings this way you get the colored background of the render setting you picked. Also use Dome Rotation to get the right environment lighting on the character or the background color you want to show up.
Then add Spot lights in this case I would play with a wide "Spread Angle" Setting and pull it tighter so it will look soft but direct depending on what you're looking for.
You can use an Emissive Primitive also but it all depends on what you want to do. Oh for the mention above Emission Lights from that product is a Shader so you have to be in Surfaces to apply it to "Anything".
Here's an example from a similar image I did:
Xylina Dane Wattsignore the photo paint. This is the same as yours. In the first and second image it's just a black Render settings with a spotlight. The third is a render setting from one of those products with the same spotlight.
More examples:
Chenoa LocklearBarry Hauge - Brock Samson outfit
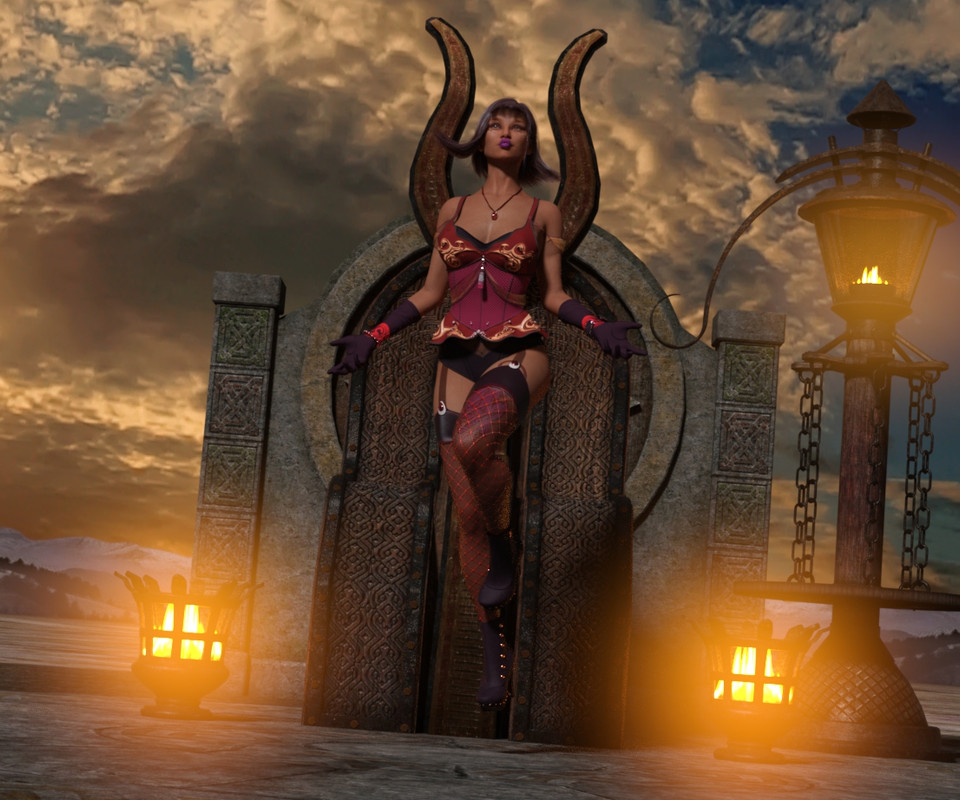
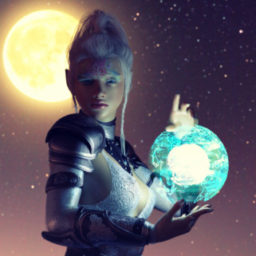
Image 3 - Use that Camera View and add a blur. Then add an Emissive Plane to light up the scene more. Try not to over do the emission. A spot light will also work. Try dialing back the Bloom Filter. They are to strong.
See Image 1 example.
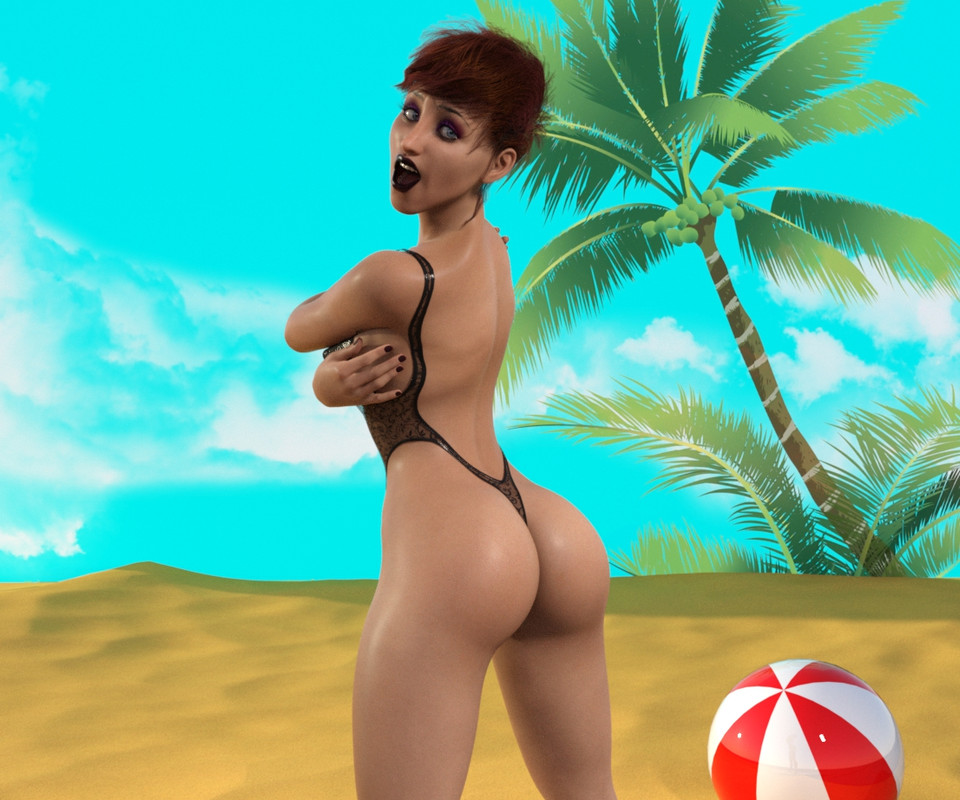
Image 4 - Camera View again, add blur. Then add emissive plane to light up the character.
See Image 1 example.
Image 5 - This is my favorite image. But use that Camera View - Blur setting again. Maybe even a Dutch angle, maybe a zoom in crop (play with it). Also reduce the burn on the spot light a little.
I mean honestly she is light well but the light burn is strong. You could also use one of these to give the environment a special kind of feel to it.
Example image:
Arnaaluk LewisThis isn't my best image but it's kinda the closest I have to your image in terms of light and blurring the shit out of the background nicely.
-
AuthorPosts


- You must be logged in to reply to this topic.
