Home Page › Forums › Art Showcase › The Sci-Fi Bar
- This topic has 16 replies, 7 voices, and was last updated 7 years, 5 months ago by
 Flamer.
-
AuthorPosts
-
April 2, 2019 at 10:20 PM #1023751
An experiment to make a very complex setup.
Made it as a submission to a feature theme called "The Girl From The Future" at DeviantArt.A lot of work setting it up and around 30 hours of final render. Rendered in 6 passes.
18 characters in the bar. The Bar is a mix of 3 different environments.
Think I gonna redo it and enhance some poses and fix some of the light problems in the scen.
Please give some feedback
 April 3, 2019 at 12:25 AM #1023907
I'm a big fan of putting Blur in my images. It's going to kill your render time but it make for a good effect for large scenes.
April 3, 2019 at 2:40 AM #1024017Not bad, though I will admit I tend to go a bit grungier with my scifi scenes.
April 3, 2019 at 4:17 AM #1024090Nicely done. I'd seen this one... it attracted the attention of the admins at the DA group for which it was submitted. We had a full discussion on it.
April 3, 2019 at 5:18 AM #1024140Very Impressive not only the render but the work that Im sure went into it.
April 3, 2019 at 8:43 AM #1024363A great tip. Gonna try that when re-rendering
Thanks Mark
April 3, 2019 at 8:46 AM #1024367Thanks Daishi,
I also prefer it a bit grungier and darker.
April 3, 2019 at 8:48 AM #1024368Thanks PhantomF4.
Yes I got some questions from BubbleCloud.
April 3, 2019 at 8:49 AM #1024370Thanks Adam, Yes I spent some good hours to set it up.
April 3, 2019 at 9:06 AM #1024387Am I correct in assuming that that wasn't the final render-result? Because the scene is good, the render-quality is shit.
If it IS the final render result, a do-over is neeeded. Basically either render in passes (spot-render) and combine in PS, or use a different render-engine than Iray, if you don't have the hardware (or, render on someone else's rig that has the hardware).
I have a minor comment on the guy with the eye-patch, with his head cocked - he seems to be looking at something, but that something isn't really in the scene. He's basically looking at an empty part of the dancefloor / floor.
Other than that, I like the scene, it's active, it's engaging, and it seems that overall, there is a bit of effort put into both posing, colors and more.
April 3, 2019 at 9:28 PM #1025170I like the Medically clean Star Trek just as much as the Streets of Blade Runner and the banged up ships of the original Star Wars. Each has their place.
Only tips I could come up with after revisiting the render is I think it needs a bit of both. The Guys to the right look like combat guys but are near spotless.
The floor must be made of vibranium because its scratch proof. Nobody in the entire bar other than the female to the left is holding a drink or smoking anything. (I almost didnt see she has a glass because it blends in so well)Thats just me being picky. Its pretty nice overall
April 3, 2019 at 11:40 PM #1025290Gotta speak up..
She's quite pleased with herself at whatever she did to really piss that dude off, and looks like shes getting kudos from the other ladies too. LOL
Render tip..
What I sometimes do with multiple characters is, set up the scene completely as in ready to hit render. [Make sure you are using a new camera, not perspective, to render the scene through].
This might be a pain but it save on time and resources.
2-SAVE SCENE..
3-DO NOT MOVE ANYTHING and delete all characters except maybe the furthest one back.
4-Render and save pic as your base pic.
5-Close scene without saving and re-open original.
6-delete all props and and characters except next furthest character back. SAVE YOUR LIGHTING.. do not delete your lighting and make sure ground is set to render(for shadows). If you have a character attached to a prop,( sword, stool, glass, bottle, gun, flower, etc), you don't need to delete that if you are rendering the character the prop is attached to.
7-Render that character, save pic.
8-Repeat steps 5-6-7 until all characters have been rendered.
9- Open photoshop and pull all your pics in.
10- what I do so make sure everything will be placed in the same spot as the scene, is in each character pic, before copy pasting onto base pic, I put a small color box in upper left and bottom right corners first. That way the pic will paste exactly where it should. You can erase these boxes after its pasted.
The green boxes on the final image is what I'm referring too with the single character images.(see reference pic)
People chew up up more resources so this is one method that eases my pain. LOL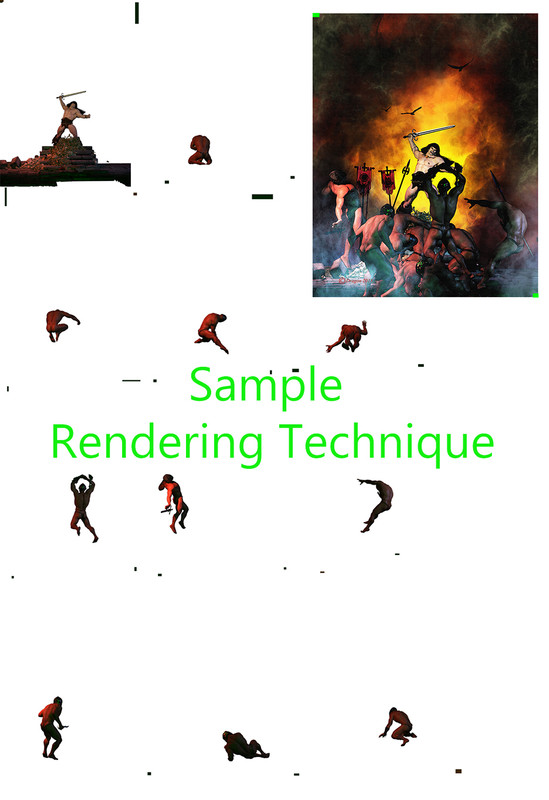 April 4, 2019 at 6:41 PM #1026360
Thats what ive started doing for scenes with many characters.
I did it for my hero entry. I can render in higher quality then just dump all the layers in PS. Biggest thing is to watch lighting and shadows position. Also keep the camera locked in position.April 4, 2019 at 8:08 PM #1026446Thats what I'm saying. Once the scene is set, don't move anything. Keep the lighting and the camera as is for every piece render. Most people don't have Godzilla movie studio rigs to handle everything.
April 4, 2019 at 9:17 PM #1026522Thanks for all the tips, It's rendered with 2 to 3 characters in 6 passes but
I didn't remove the bar just the characters to avoid a lot of retouch work in PS.
Also because the floor is very reflective, not just shadows.I'm gonna re-render and fix some things I'm not happy with. I will try to do it your way Dragon.
I have a pretty good PC and use a 1080Ti card so most of the time with fewer characters the renders goes pretty quick and looks good.
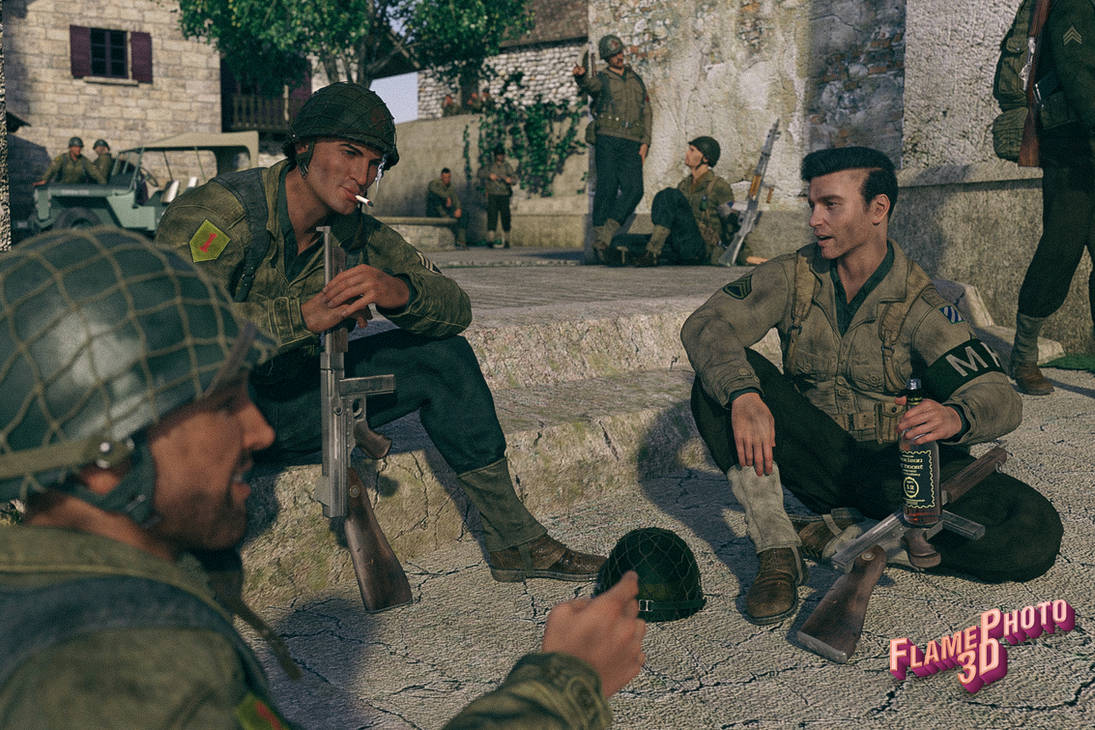
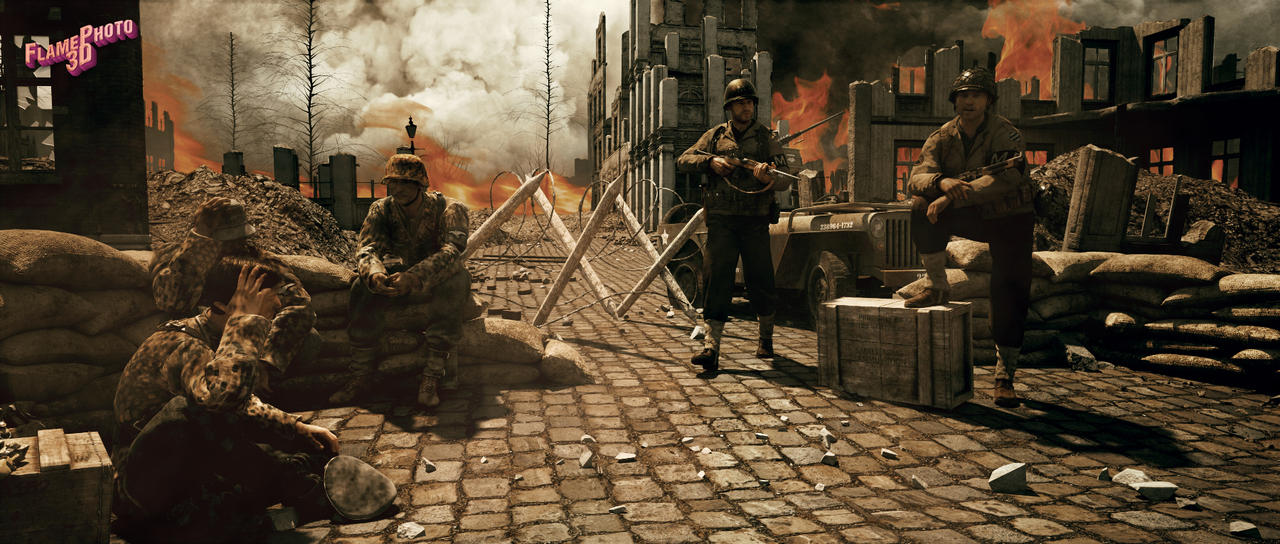
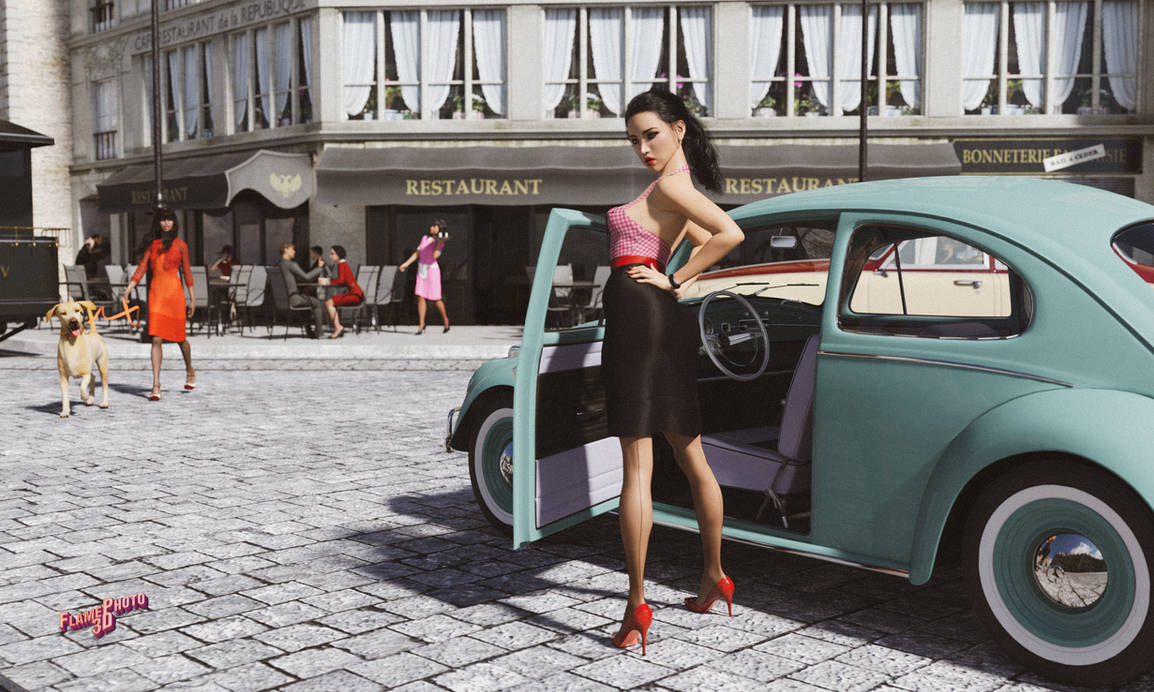
Did some images with more characters and render them in passas with the enviroment on.
-
AuthorPosts






- You must be logged in to reply to this topic.
