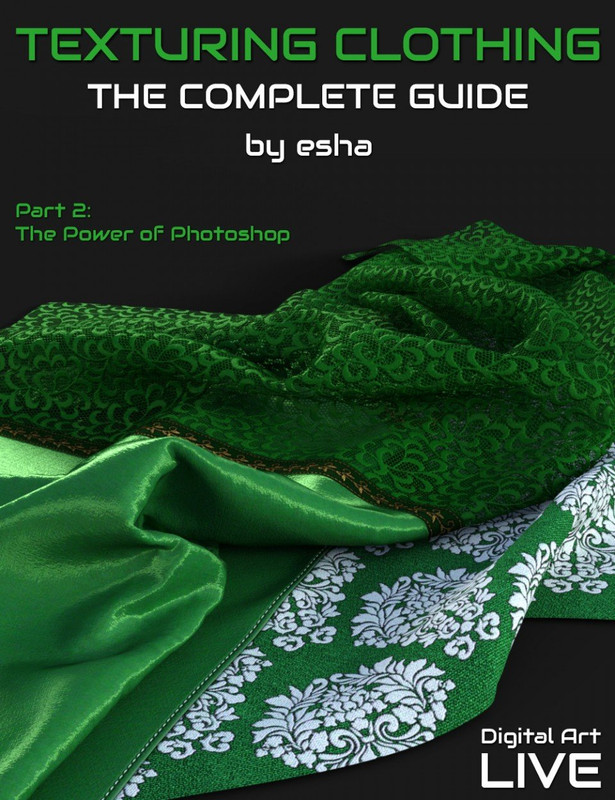
The Complete Guide to Texturing Clothing - Part 2
Texturing clothing made easy with this workshop!
esha takes you through the complete procedure for texturing clothing in this professionally edited and indexed video tutorial.
The series is presented in a workshop-like manner and esha has provided her working files for you to work along.
The series is broken into fifteen Chapters, and this second part includes Chapters Four, Five and Six, consisting of six sessions. Each session has been kept to an average running time of roughly 30 minutes in order to allow the student to absorb the material. At the end of each Chapter you'll find an assignment that will help you to review the information and put it into practice. If you work along with this course you'll have a finished texture project at the end of the workshop.
https://youtu.be/yVh-litgCnI
This second part shows how to use Photoshop's extremely powerful Smart Objects feature to your advantage as a texture artist. We'll cover how to twist and warp a texture resource to fit into the template perfectly, different methods for creating borders and how to wrap them around curves, and also how to automatically paint in stitching along a vector path.
The other parts of the series cover how to save out your own templates, how to turn scans or photos into seamlessly tiling base fabrics, how to design complex seamless overlay patterns, how to create transparency for lace, how to use bump, normal and displacement maps, how to set up your shaders for fabric, leather, knitwear, metal and gemstones, how to save out presets that perform several tasks in one go, and how to collect your files for zipping them up.
If you're serious about creating your own textures, either for yourself or to distribute professionally, this is the best resource you could find on the topic!
All videos are fully indexed allowing you to jump to key points within the video and we've included a PDF file with hyperlinks to the videos allowing you to jump to a specific video as well as allowing you to keep notes of relevant time codes for your own reference.
The scan and seamless border included in this part can be used as merchant resource for your own personal and commercial texturing projects!
NOTE: The software used in this tutorial is Photoshop CS6, but many of the methods and techniques presented here will also be applicable to other software.
https://www.daz3d.com/the-complete-guide-to-texturing-clothing-part-2
